button to view your main phone screen.
Adding Contacts
See Presence Information and use Convenient Options for Frequently Contacted Individuals
Mass Importing Contacts
While mass importing contacts was possible, it was disabled due to security issues.
Adding a New Contact
Note that you can add up to 250 contacts.
Any contacts you add need to have phone numbers that meet the dialing rules. For example, a local off-campus number would need to be prepended with a "9" (e.g., 915401234567).
- Press the
Contacts button.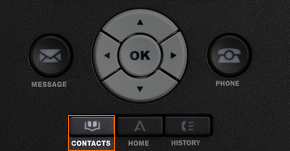
- Press the
New softkey.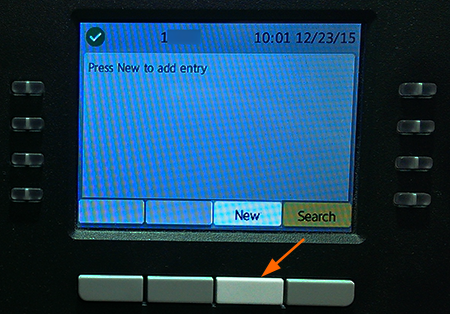
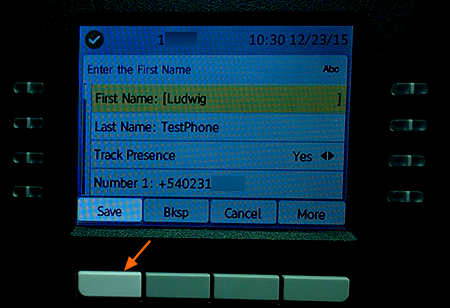
- Edit the appropriate fields (at minimum you need to fill in the first name and number):
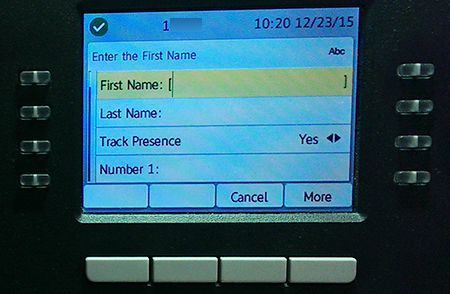
- Select a different field by pressing the
Up Arrow orDown Arrow of the navigation wheel.
- If you want to delete a character or number from a field, press the
Bksp softkey.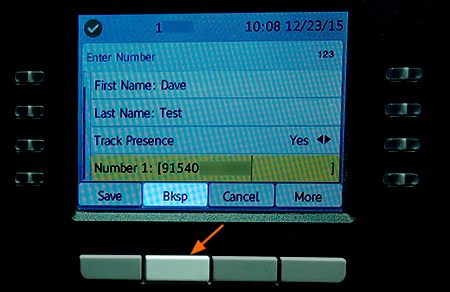
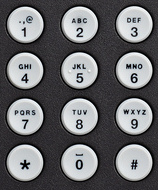
- Enter letters into fields by pressing the appropriate dial pad button.
- Tracking Presence will only work if the contact you're adding has the mobility package and you are adding their Avaya extension.
- You can add multiple phone numbers for a contact.
- Press the
Save softkey.
Adding a Contact from Call History
Be aware that if you add a contact from Call History that is off-campus, then you need to prepend a "9" or other numbers in front of the number so that it meets the dialing rules. The phone will not do this automatically.
- Press the
History button.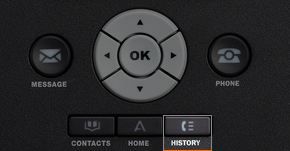
- Press the
Left Arrow orRight Arrow of the navigation wheel to scroll to the sorted call list that has the contact you want to add.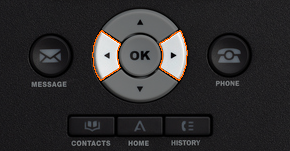
- If necessary, once you are viewing the sorted call list containing the contact that you want to add, press the
Down Arrow of the navigation wheel to select the specific phone number/contact you want to add.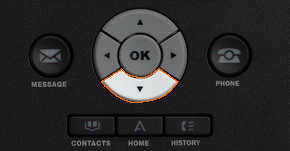
- With the contact you want to add highlighted, press the
+Contact softkey.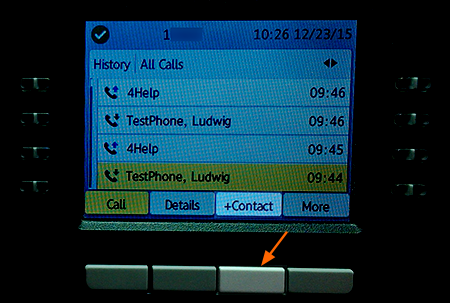
- Edit the appropriate fields:
- Select a different field by pressing the
Up Arrow orDown Arrow of the navigation wheel. - If you want to delete a character or number from a field, press the
Bksp softkey. - Enter letters into fields by pressing the appropriate dial pad button.
- Once all fields are complete, press the
Save softkey.