Headset Setup

Install a Jabra Go 6400 and Pro 9400 series headset on Avaya 96x1 series IP phone

For installing your Jabra headset, two components are needed (aside from your Avaya phone):

  • Jabra EHS (Electronic Hook Switch): The Jabra EHS provides a solution that enables remote operation: e.g., one can answer and end calls, adjust volume, mute the microphone, and hear ring tones through the headset while away from one's desk.

    Electronic Hook Switch

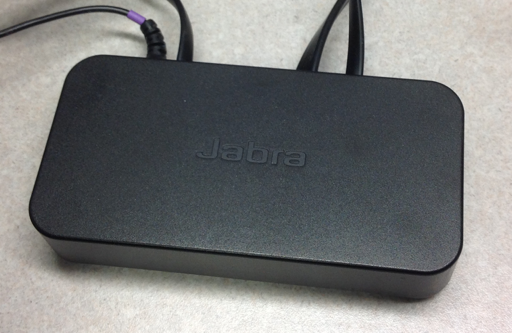
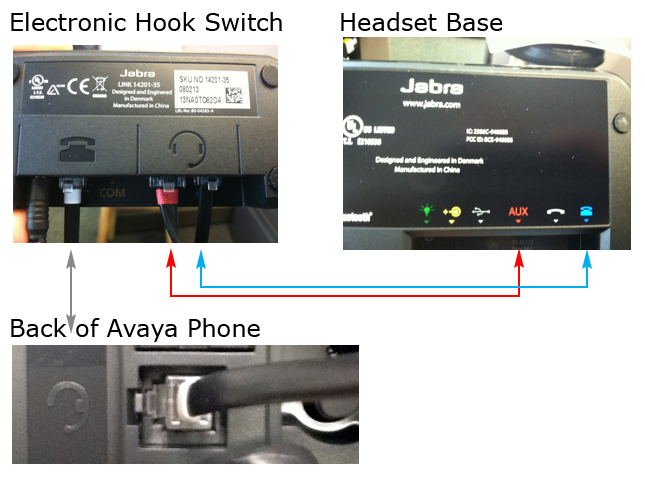
    The EHS (Electronic Hook Switch) link 14201-35 is used with all Jabra Headsets sold by NI&S.
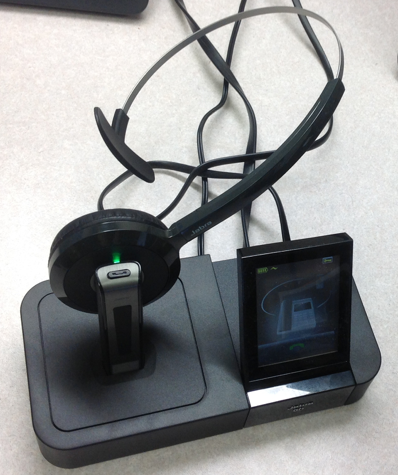
  • Jabra GO Headset Base and Cradle: The Jabra base and headset cradle are where your headset is recharged and docked when not in use. There is also a touchscreen used to set up the phone and specify the device to receive incoming calls.

The Jabra Pro 9400/6400 series headsets all have the same connection points on the back of the headset base. The ports are color-coded to ensure proper connection:

The following connectors are used on the back of the Jabra Pro headset base:

  • Yellow Battery symbol is the power connector to wall outlet
  • Power Input

    When connecting your phone, be sure to plug the power in last.
  • White USB symbol to the right of the yellow power connector is USB cable to PC
  • Red AUX is the fat phone type connector that connects to red AUX port on EHS Link 35 adapter
  • Blue Telephone symbol is the connection to blue telephone symbol on EHS Link35 adapter

Jabra Pro 9450/9460/Duo/9470 and Jabra Go 6470 Connection

  1. Connect cables from the EHS to the headset base and your Avaya phone:
    1. Connect the Red AUX from the EHS to the Red AUX on the headset base.
    2. Connect the Blue Telephone from the EHS to the Blue Telephone on headset base.
    3. The cable with the white tab on either end connects to the Avaya phone in the headset port.
  2. Install the ring detector:
    1. Remove the headset from the Avaya phone so that you can see the speaker grate.
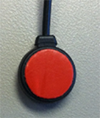
    2. Peel the red plastic circle off of the ring detector.
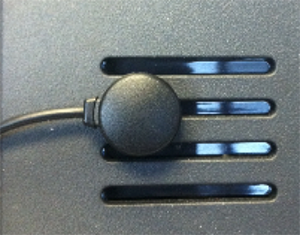
    3. Place the ring detector on the speaker grate, applying a little pressure.
  3. Plug the power adapter from an outlet into the power port of the headset base.
  4. Check the model located on the underside of your headset base to determine the model of your Jabra device.
    • If you have a Jabra Pro 9450, you are finished and need to put your headset on the base to allow it to charge. You don't need to follow any more directions.
    • If you have a Jabra Pro 9460/Duo/9470 and Jabra Go 6470, you will need to complete the following section to set up the base.

Jabra Pro 9460/Duo/9470 and Jabra Go 6470 Configuration

To configure your headset, use the electronic panel on the headset base.

Use the check boxes to select what devices you plan to connect your headset with:
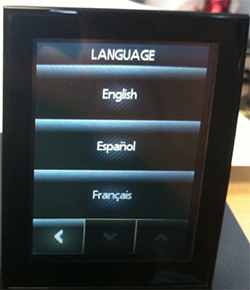

  1. Set the language and connect your desk phone:
    1. To begin the setup, tap English.
    2. Tap the right arrow > to connect/configure your headset.
    3. When prompted, place your headset on the charging dock connector.
    4. Tap Yes to connect to a desk phone.
    5. Tap Manual.
    6. Under Select Adapter, tap DHSG, which is used for the EHS adapters.
    7. Verify the clear dial-tone switch is set to option A (tap minus - or plus + to adjust to A if needed) then tap the right arrow >.
    8. Set the microphone level to the recommended level of 6 by tapping the minus - button on the screen until it reads 6, then tap the right arrow >.
    9. Tap the right arrow > to complete the setup.
  2. Since you do not want to connect to a softphone or use the headset with Windows, tap No.
  3. Since you plan to use a softphone with your PC, tap Yes.
  4. Tap the right arrow > to begin the soft phone setup.
  5. To set up the headset for use with Avaya One-X Communicator, tap Avaya.
  6. Change Option Later

    You can change this option within the Jabra PC Suite software for use with other soft phone clients, such as Skype.

  7. Tap the right arrow > to confirm the Jabra PC Suite reminder.
  8. Tap the right arrow > to confirm the message about more information on soft phone setup.
  9. Since you do not want to connect a mobile phone to the headset, tap No.
  10. Since you want the headset to connect to a Mobile Phone, tap Yes.
  11. Bluetooth and Headsets Option Later

    Only the Jabra Go 6470 has Bluetooth in the actual headset, the Pro 9460 and 9470 have Bluetooth in the base, so your mobile phone would have to be placed next to the base to answer a call to your mobile phone with the headset.

  12. Tap the right arrow > when prompted to find the Bluetooth menu on your mobile phone.
  13. At the Activate Bluetooth pairing screen, you will need to go into your mobile phone and make your device discoverable to continue to the next screen. If prompted for a pin, use 0000 as shown on the left below. If you see "Pairing Failed", tap Retry as shown on the right.
  14. Confirm the connection on your mobile phone and then tap the right arrow > to proceed with the setup.
  15. Tap the right arrow > to complete the Mobile Phone setup.
  16. Set up personal preferences:
    1. When asked to set up Personal Preferences, tap Yes.
    2. To adjust screen brightness, leave the default or select the setting of your choice, then tap the right arrow >.
    3. For screen dimmer timeout, leave the default as "60 sec" or select the setting of your choice, then tap the right arrow >.
    4. If you set up a mobile phone, then set the base-speaker volume for Mobile phone ringtones to Off by tapping the minus - key until the yellow tick "|"" is under Off as shown below, then tap the right arrow >.
    5. Set the base-speaker volume for desk phone ringtones to Off by tapping the minus - key until the yellow tick "|"" is under Off as shown below, then tap the right arrow >:
    6. If you set up a soft phone, set the base-speaker volume for soft phone ringtones to Off by tapping the minus - key until the yellow tick "|" is under Off as shown below, then tap the right arrow >.
    7. Set the base-speaker click volume for touchscreen operations to Low or Off by tapping minus - or plus + to adjust to your preferred setting, then tap the right arrow >.
    8. When prompted about Target indication, tap the right arrow >.
    9. Tap English voice so you see a green check mark, and then tap the right arrow >.
    10. Finish by continuing through prompts and reading about how to use tour headset. It is recommended you go through the introduction to the controls.

Having problems? Submit an incident at 4help.vt.edu

Tell us what you think, take our training website survey